Gå vidare till produktinformation
1 av 1

Pennspecialisten

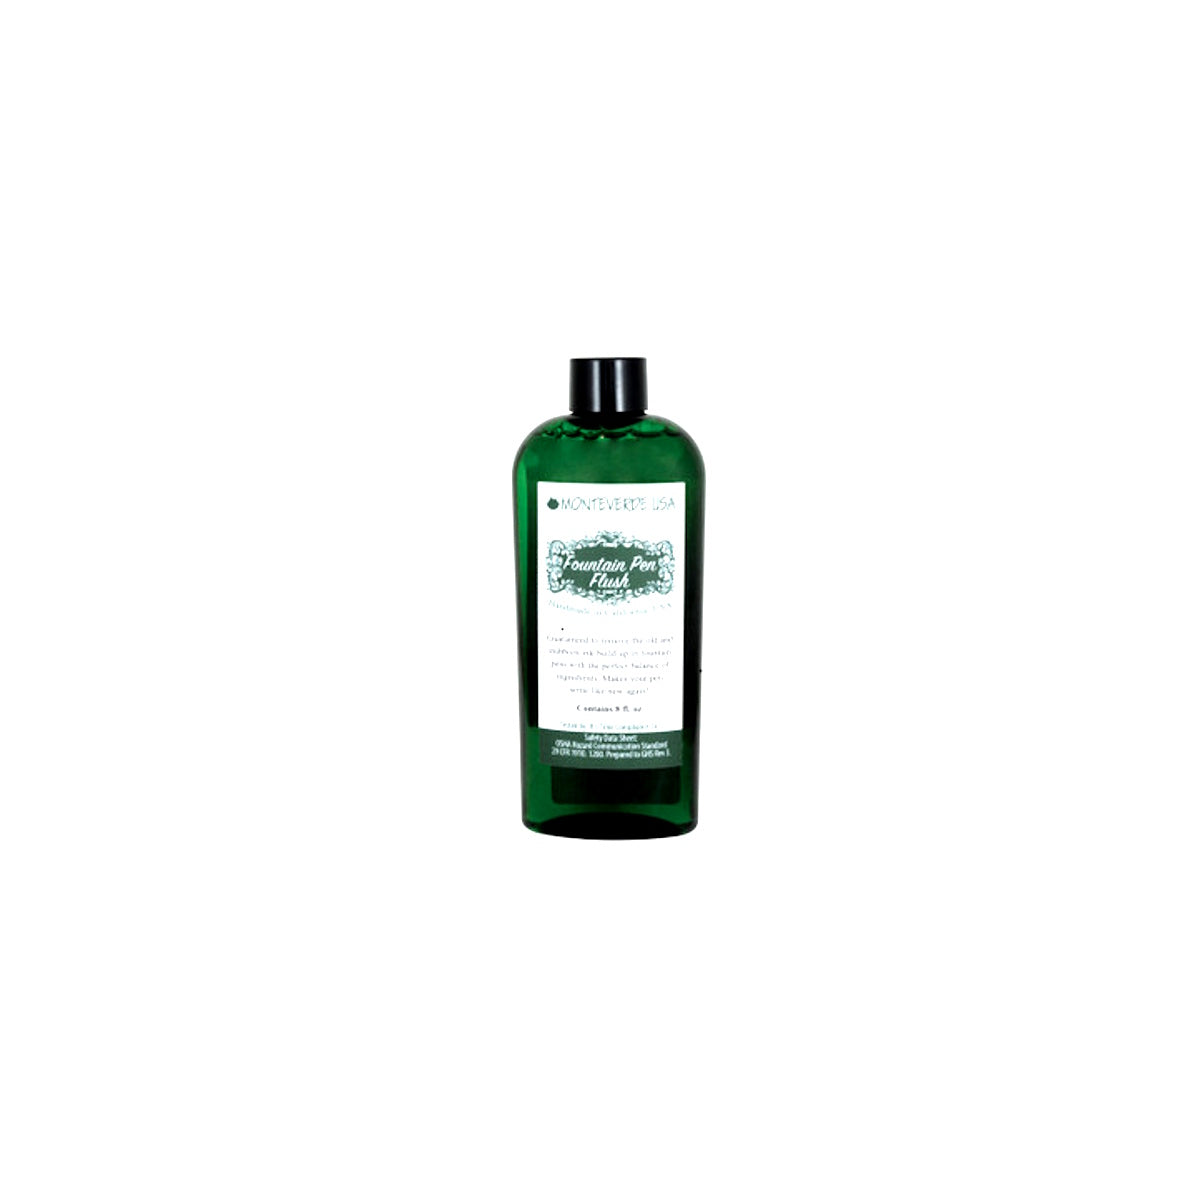
Monteverde Flush Rengöringsvätska till reservoarpennor

Monteverde Flush Rengöringsvätska till reservoarpennor

Ordinarie pris 195 SEK
Ordinarie pris Försäljningspris 195 SEK
Rea Slutsåld
Skatt ingår.
Brands: Monteverde Model: Flush
Colour:  Size: 8 oz
Country: USA Year: New 
Info: Rengöringsvätska för reservoarpennor

Instructions:

1. Clean a fountain pen with distilled or tap water until the water runs clear.

2. Fill and flush your fountain pen with Monteverde USA® Pen Flush, repeating to remove any extra ink.

3. Fill and flush with clean water again to remove any remaining Pen Flush.

Keeping your fountain pen clean is essential for optimal performance and longevity. This step-by-step guide will help you use a Monteverde® Pen Flush to clean your fountain pen thoroughly.

Step-by-Step Instructions

Step 1: Disassemble the Fountain Pen

  • Carefully unscrew the barrel and separate the nib and feed from the pen's section. If your pen has a cartridge or converter, remove it as well.
  • Note: If your pen's warranty does not permit disassembly, consult the manufacturer's cleaning instructions.

Step 2: Measure the Pen Flush

  • Use desired amount of pen flush (normally 18-20 ml) and pour in a cup or a bowl.
  • Ensure you're measuring on a flat surface for accuracy.

Step 3: Soak the Pen Components (optional)

  • Pour the flush into a cup or a bowl.
  • Submerge the disassembled pen components into the pen flush and let them soak for a few minutes. This will help break down stubborn ink residues.

Step 4: Rinse with Clean Water

  • After cleaning with the pen flush, rinse all pen components with clean, lukewarm water. This will remove any residual cleaning solution.
  • Ensure you rinse thoroughly to avoid any lingering pen flush.

Step 5: Dry the Pen Components

  • Gently pat the pen components with a lint-free cloth or paper towels to remove excess water.
  • Allow all parts to air-dry completely before reassembling the pen.

Step 6: Reassemble the Fountain Pen

  • Once all parts are completely dry, reassemble the pen in the correct order.
  • Make sure everything is secure but not overly tight.

Step 7: Test the Fountain Pen

  • Test your pen on a piece of paper to ensure the ink flows smoothly. This will confirm that the cleaning process was successful.

Additional Tips

Frakt & Leverans

Postas via Postnord, skickas in 1-3 arbetsdagar.
Visa alla uppgifter